Dear Houdini FX Enthusiasts,
What keeps you up in long nights sitting in front of your screen?
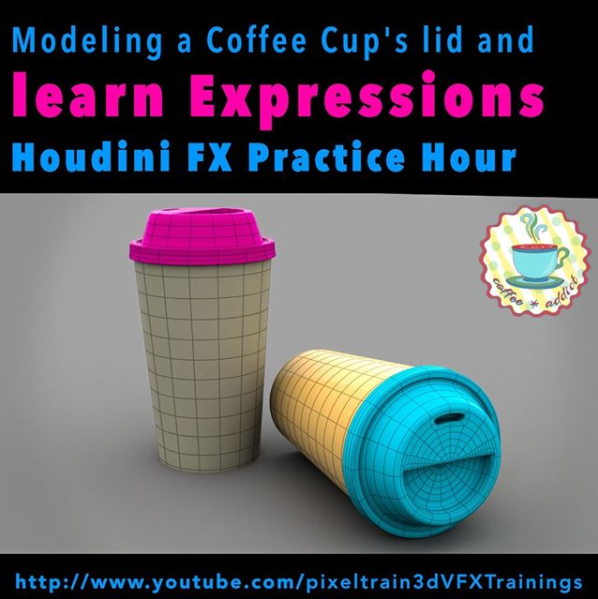
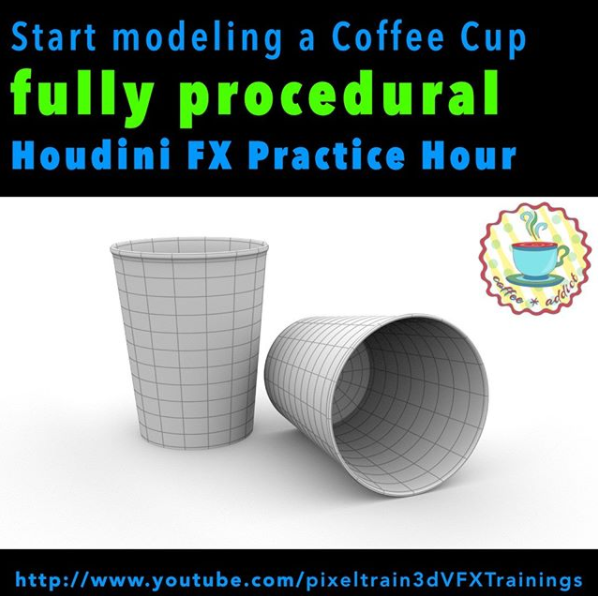
Right, Coffee 🙂 Today, I have finished the first 4 hours module of my new free “Houdini FX Practice Hour” project “Coffee Cup”.
My focus this time was showing you the first steps in approaching procedural Polygon Modeling in Houdini FX. We talk about groups, channel referencing and we write some snippets of HScript. We also talk about different UV Tools inside of Houdini and look into the exchange workflow of the Model with external Painting Applications like Substance Painter, 3D-Coat and Mari. Yes, I also show how to layout UVs in a UDIM workflow. At the end of this first module, we build a Mantra Rendering scene and use the painted textures. I will release some bonus lessons about the Painting process in Substance Painter and 3D Coat, using UDIMs next week, so please have some patience.
YouTube: https://www.youtube.com/pixeltrain3DVFXTrainings
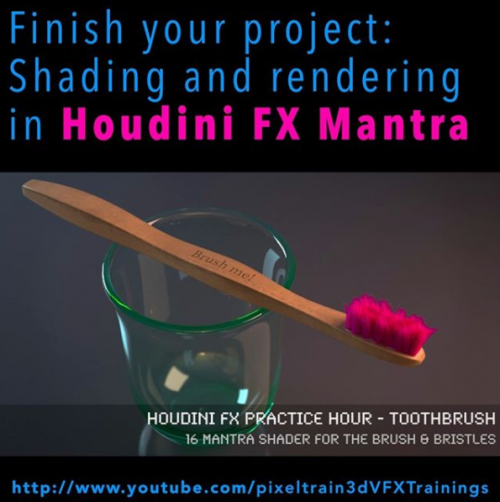
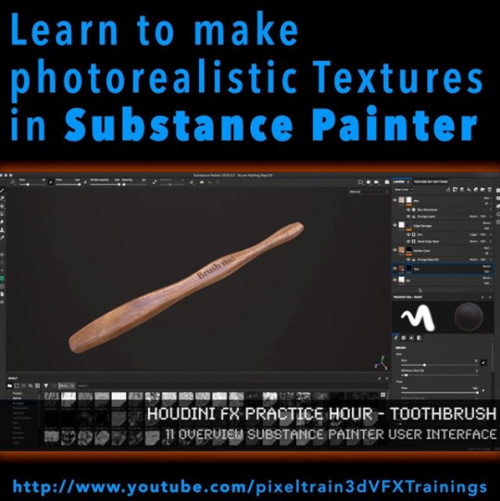
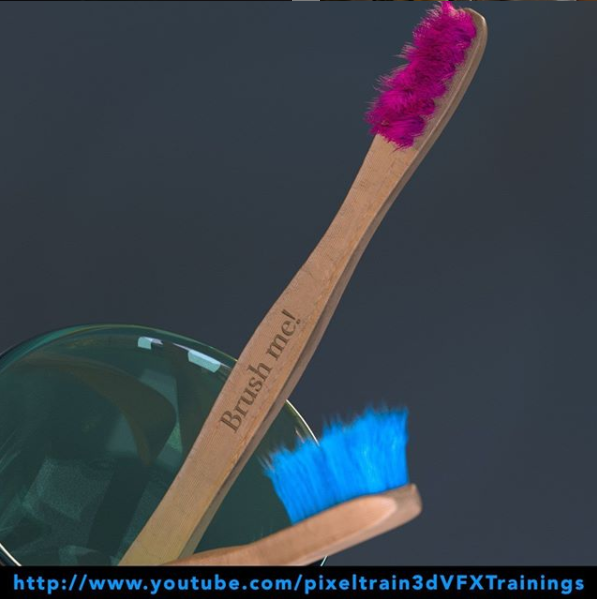
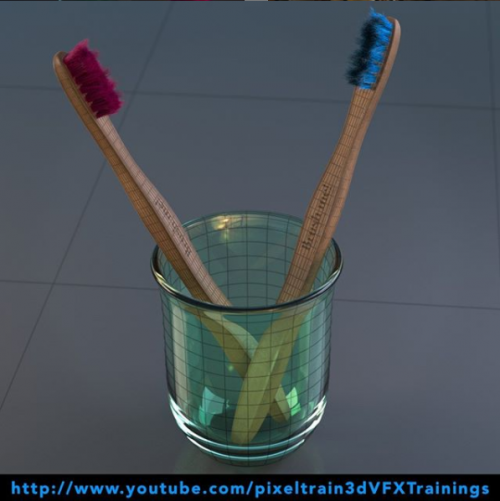
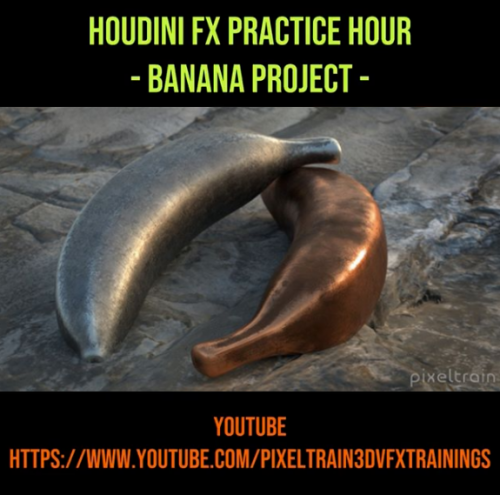
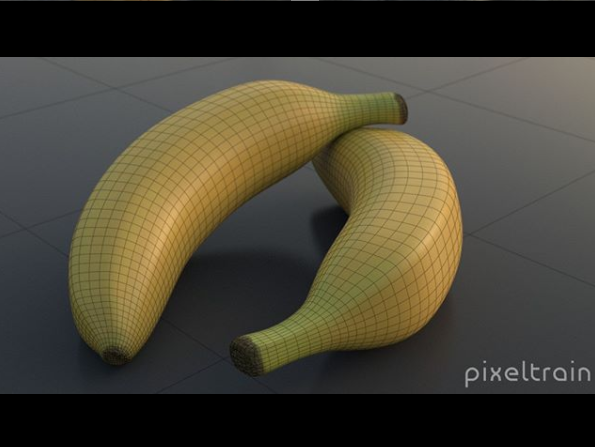
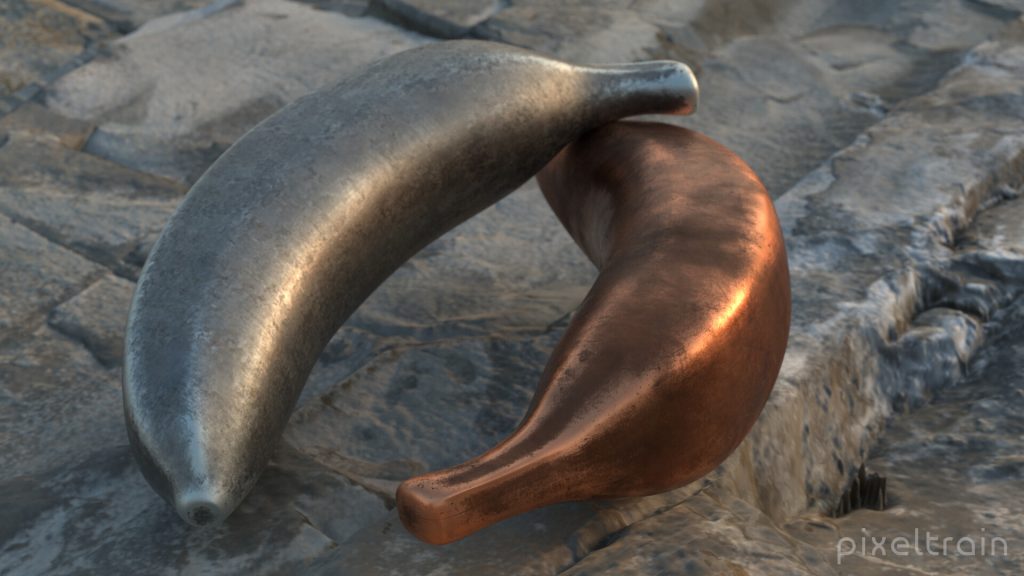
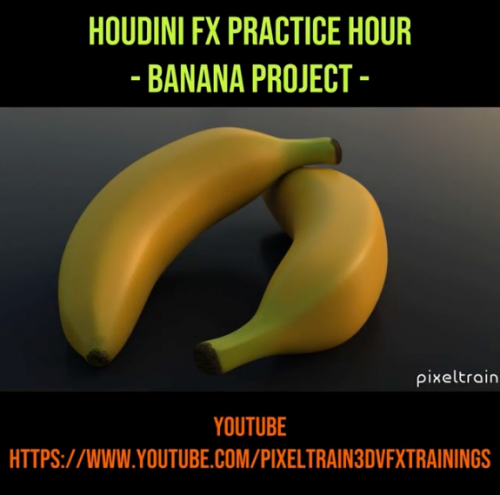
These lessons are beginners level and are building on the other two finished Houdini Practice Hour Projects “Banana” and “Toothbrush”.
I hope, you find them useful and have some fun.
Kind regards,
Helge
In this tutorial, you will learn how to unwrap the coffee cup and the lid with different UV nodes inside of Houdini FX.
We will take a look in the powerful UV Flatten node, but also UV Project and UV Unwrap.
Then we talk about layouting your UVs and I show you how to work with UDIMs.
These topics are covered:
- UV Flatten Node
- Cut Seams Tool
- Making Cuts & Loop Cuts
- Sew Tool
- Visibility Node
- Finding UV Distortions & UV Overlaps
- Unwrapping the Cup
- UV Project Node UV
- Unwrap Node
- Unwrapping sequentially
- Pre-Selecting areas with Groups & expressions
- Preserving existing seams
- UV Layout Node
- Layouting the islands
- Layout with UDIMs
If you want to support me for publishing more free tutorials, you could join my Patreons: https://www.patreon.com/pixeltrain3d
Or you can download the Project files on Gumroad: https://gumroad.com/pixeltrain3d
This tutorial series „Houdini Practice Hour“ is meant for newbies in Houdini FX, who want to learn the basic tasks of modeling, uvs, shading, lighting and rendering on a project base in Houdini FX.
I will explain you step by step the workflows and tools, so you can follow along and then experiment to deepen your knowledge.
Learning means „getting your hands dirty“. This series doesn’t give you the most effective, elegant or the “only right way”, it’s concepted to give you a solid learning experience.
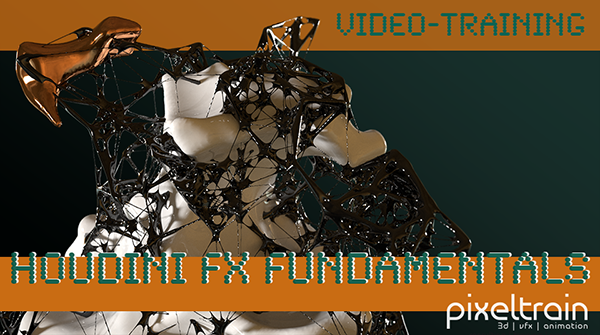
If your are searching for a complete introduction into the fundamentals of Houdini FX, you can take a look here: https://vimeo.com/ondemand/houdinifxfundamentals
Link to the YouTube-Playlist “Houdini FX Practice Hour”:
https://www.youtube.com/playlist?list=PLp90cx0wSyKZ2Nxnyp4W-EeaEQBp53k-f
If you have questions or topics, which should be added, please let us know.
Find more information on pixeltrain.de YouTube: https://www.youtube.com/pixeltrain3DVFXTrainings
VIMEO: https://www.vimeo.com/pixeltrain
LinkedIn: https://www.linkedin.com/in/pixeltrain
Artstation: https://www.artstation.com/pixeltrain