Hello Houdini Beginners,

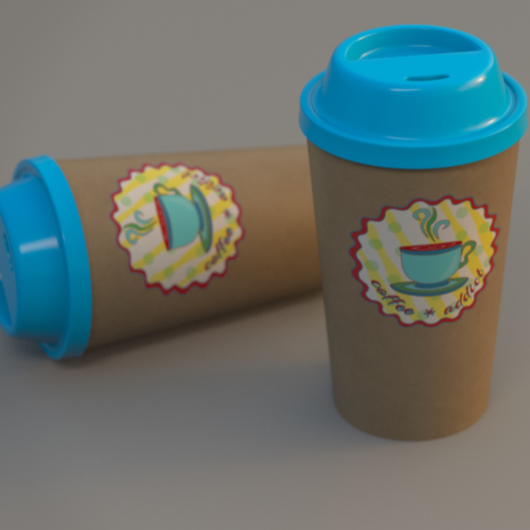
The first module of my free “Houdini FX Practice Hour” project “CoffeeCup” is finished!

Over the course of 13 lessons, you will learn the basics of the Houdini Polygon Modeling tools and how to get into a procedural approach with selections, groups and a little bit of HScript.


You will learn how to work with UVs and build a workflow between Houdini and Substance Painter.

We will render our scenes in Mantra.

In two bonus lessons, we dive deeper into the Classic Material Workflow between Houdini and Substance Painter 2020 and the new UDIM based workflow.

I hope, some of you find this useful.

Here is the full playlist:
https://www.youtube.com/playlist?list=PLp90cx0wSyKadoPBBcMQCSwtTAMBtXPIM

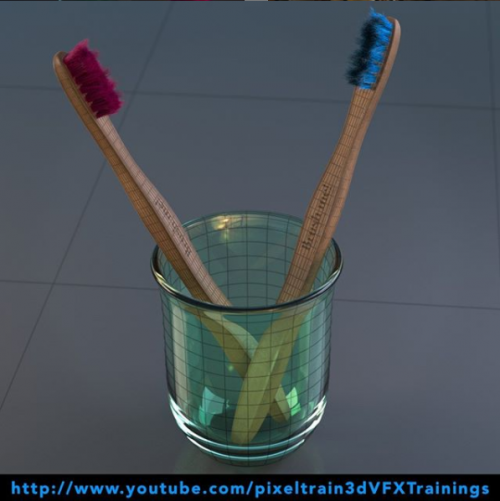
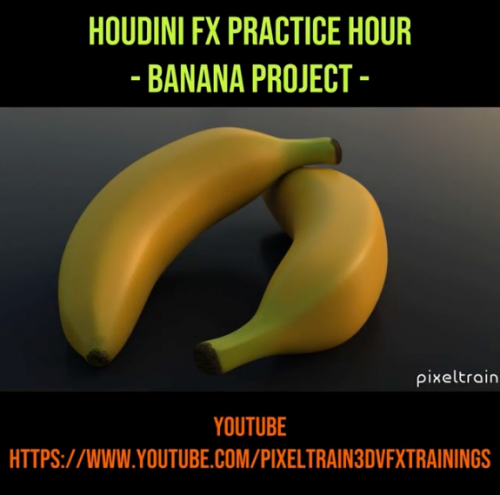
These lessons are meant as an addition to the other two Houdini Practice Hour projects (Banana and Toothbrush), so if you want to follow the complete learning path, you should begin with these. 


Have fun!

Helge

If you want to support me for publishing more free tutorials, you could join my Patreons: https://www.patreon.com/pixeltrain3d

Or you can download the Project files on Gumroad: https://gumroad.com/pixeltrain3d

This tutorial series „Houdini Practice Hour“ is meant for newbies in Houdini FX, who want to learn the basic tasks of modeling, uvs, shading, lighting and rendering on a project base in Houdini FX. I will explain you step by step the workflows and tools, so you can follow along and then experiment to deepen your knowledge. Learning means „getting your hands dirty“. This series doesn’t give you the most effective, elegant or the “only right way”, it’s concepted to give you a solid learning experience.

If your are searching for a complete introduction into the fundamentals of Houdini FX, you can take a look here: https://vimeo.com/ondemand/houdinifxfundamentals

Link to the YouTube-Playlist “Houdini FX Practice Hour”:
https://www.youtube.com/playlist?list=PLp90cx0wSyKZ2Nxnyp4W-EeaEQBp53k-f

If you have questions or topics, which should be added, please let us know.

Find more information on pixeltrain.de YouTube: https://www.youtube.com/pixeltrain3DVFXTrainings

VIMEO: https://www.vimeo.com/pixeltrain

LinkedIn: https://www.linkedin.com/in/pixeltrain

Artstation: https://www.artstation.com/pixeltrain

Welcome to our new “Houdini FX Practice Hour” project.

This time we will model, texture and render a Toothbrush with glass.

Also, we will dive into the Houdini FX groom system for generating the bristles with hair.

Hope, you like it – if yes, please subscribe 🙂

In this tutorial, we will create a Houdini FX project and talk about the importance of the project structure and the Houdini variables $JOB and $HOME and to make sure, that your paths will not break when transferring the project to another machine or a render farm.

These topics are covered:

  • Generation a new Houdini FX project
  • Getting out of a stuck dialog box
  • The importance of $JOB and $HOME
  • Aliases and Variables dialog
  • Making sure your paths are always correct
  • Switching and activating a project
  • Adding reference images to the structure

This tutorial series „Houdini Practice Hour“ is meant for newbies in Houdini FX, who want to learn the basic tasks of modeling, uvs, shading, lighting and rendering on a project base in Houdini FX.

I will explain you step by step the workflows and tools, so you can follow along and then experiment for deepen your knowledge. Learning means „getting your hands dirty“.

This series doesn’t give you the most effective, elegant or the “only right way”, it’s concepted to give you a solid learning experience.

If your are searching for a complete introduction into the fundamentals of Houdini FX, you can take a look here: https://vimeo.com/ondemand/houdinifxfundamentals

If you have questions or topics, which should be added, please let us know.

If you want to support Helge Maus for publishing more free tutorials you could join his Patreons: https://www.patreon.com/pixeltrain3d

Or you can download the Project files on Gumroad: https://gumroad.com/pixeltrain3d

Find more information on pixeltrain.de YouTube: https://www.youtube.com/pixeltrain3DVFXTrainings

VIMEO: https://www.vimeo.com/pixeltrain

LinkedIn: https://www.linkedin.com/in/pixeltrain

Artstation: https://www.artstation.com/pixeltrain

Today I’ve released the first part of my new “Houdini FX Practice Hour” series on YouTube.

5 Lessons for Beginners, showing Direct Modeling in Houdini FX.

Hope, you like it: https://youtube.com/pixeltrain3DVFXTrainings

Next part will come next week, then we will dive into UVs, Texture Painting, Shading and Rendering.

In this tutorial, we will set up our Houdini FX scene for modeling.

These topics are covered:

  • Setting up a reference image in COPs
  • Setting up reference images in the viewport
  • Working with different display options to help the modeling process
  • Changing object shading and ghosting
  • Learning keyboard shortcuts for working with panels more effective

This tutorial series „Houdini Practice Hour“ is meant for newbies in Houdini FX, who want to learn the basic tasks of modeling, uvs, shading, lighting and rendering on a project base in Houdini FX.

I will explain you step by step the workflows and tools, so you can follow along and then experiment for deepen your knowledge. Learning means „getting your hands dirty“. This series doesn’t give you the most effective, elegant or the “only right way”, it’s concepted to give you a solid learning experience.

If your are searching for a complete introduction into the fundamentals of Houdini FX, you can take a look here: https://vimeo.com/ondemand/houdinifxfundamentals

If you have questions or topics, which should be added, please let us know.

If you want to support Helge Maus for publishing more free tutorials you could join his Patreons: https://www.patreon.com/pixeltrain3d

Or you can download the Project files on Gumroad: https://gumroad.com/pixeltrain3d

Find more information on pixeltrain.de YouTube: https://www.youtube.com/pixeltrain3DVFXTrainings

VIMEO: vimeo.com/pixeltrain

LinkedIn: linkedin.com/in/pixeltrain

Artstation: https://www.artstation.com/pixeltrain

Herzlich Willkommen zum ersten Teil unserer Reihe

Cinema 4D Advanced Production Vol 1: Modeling Improvements in der Praxis.

Jahr für Jahr kommen immer weitere leistungsstarke, praktische Funktionen und Werkzeuge in MAXON CINEMA 4D hinzu und verbreitern damit die kreativen Möglichkeiten für die Nutzer. Doch leider fehlt im hektischen Arbeitsalltag häufig die Zeit und dann auch die richtigen Quellen, diese Neuerungen kennenzulernen und nutzbringend zu integrieren. Häufig werden daher neue Funktionen schnell wieder vergessen und die Arbeitseffektivität steigt kaum. Genau hier möchte Ihr Trainer Helge Maus helfen.

Hier der Link zum VideoOnDemand:

https://vimeo.com/ondemand/c4dproductionvol01

Diese Publikation, deren Schwerpunkt im Volume 1 „Modeling“ sein wird, geht auf die Neuerungen in diesem Bereich seit Version R15 ein, stellt diese in einen sinnvollen Zusammenhang. Alles wird praxisnah und verständlich erklärt, so dass diese Werkzeuge schnell eingesetzt werden können. Zudem lenke ich den Blick auf tolle Erweiterungen und verborgene Presets, die man zu schnell übersieht. Die Gesamtlänge des Training beträgt ca. 6,5 Stunden.


01 Effizienter in CINEMA 4D R18 (01:31:00)

01 Objekte-Manager effektiver nutzen
02 Navigation, Viewport & HUD
03 Viewport OpenGL, Reflektivität, SSAO & Tessalierung
04 Darstellung, Texturen, Selektionen & Sticky Keys
05 Struktur durch Ebenen-Management
06 Ansichts-Solo Funktionen
07 Arbeitsebenen im Griff
08 Snapping System im Griff

02 Polygon Modeling Improvements (02:06:00)

01 Polygon-Stift – Erzeugen von Polygonen
02 Polygon-Stift – Hinzufügen & Löschen von Elementen
03 Polygon-Stift – CleanUp & Bögen erzeugen
04 Polygon-Stift – Extrudieren Funktionen
05 Polygon-Stift – Tweaking von Geometrie
06 Polygon-Stift – Ein einfacher Retopo Workflow
07 R18 Messer – Linien & Spline-Schnitte
08 R18 Messer – Ebenenschnitt
09 R18 Messer – Loop- & Pfad-Cut verwenden
10 R18 Messer – Loop-Cut Krümmung & Kurven
11 Interaktives Bevelwerkzeug
12 Eigene Profile im Bevelwerkzeug
13 Die Mesh-Prüfung

03 Spline based Modeling Improvements (00:42:00)

01 Der Spline-Stift
02 Splines skizzieren & modifizieren
03 Splines glätten & modifizieren
04 SplineBogen Werkzeug
05 Die Spline-Maske
06 Schnelle Spline Booleans
07 Der Zahnrad Spline

04 Generatoren & Deformatoren Improvements (00:35:00)

01 OpenSubdiv in C4D R18
02 Deformatoren Abnahmen
03 Der Bevel-Deformator

05 Content-Browser – Effiziente Modeling Tools (01:36:00)

01 Der Content-Browser, Kataloge & Presets
02 Suchen & Finden im Content-Browser
03 Einfache Mauern mit PavementRig
04 Gehsteige erzeugen
05 HouseBuilder – Grundriss erzeugen
06 HouseBuilder – Türen & Fenster
07 HouseBuilder – Räume & Materialien
08 HouseBuilder – Texturieren mit Styles
09 HouseBuilder – Ausblick Fenster, Türen, Treppen & Co.
10 FoldMyDesign – Vorbereitung der Stanze
11 FoldMyDesign – Korrigieren & Ordnen der Stanze
12 FoldMyDesign – Falten & Feintuning
13 FoldMyDesign – Materialvergabe und UVs


Viel, viel Spaß damit!

Feedback jederzeit über info(at)pixeltrain.de oder


pixeltrain bei LinkedIn pixeltrain facebook pixeltrain twitter pixeltrain bei VIMEO Helge Maus - pixeltrain | 3d | vfx | Training & Produktion


Möchtest Du immer up-to-date mit den neuesten Publikationen und kostenfreien Tutorials von Helge bleiben, melde Dich gerne an unserem Newsletter an >>


Merken

Merken

Merken

Merken

Merken

Merken

Merken

Merken

Merken

Merken

Merken