More and more customers are asking me for my opinion on learning real-time engines like Unreal or Unity. That’s why I wanted to share my experiences with you.
Saving render times is a big goal for all of us.
Depending on the techniques used and the style you are aiming for, it can take some minutes or even many hours to calculate an image or longer animations.
In the photorealistic area, these render times are one of the most important factors that must be taken into account when planning projects and budgets. Especially in projects with many iterations and correction loops due to customer requests, endless rendering times are often a bottleneck that threatens the existence of the service provider.
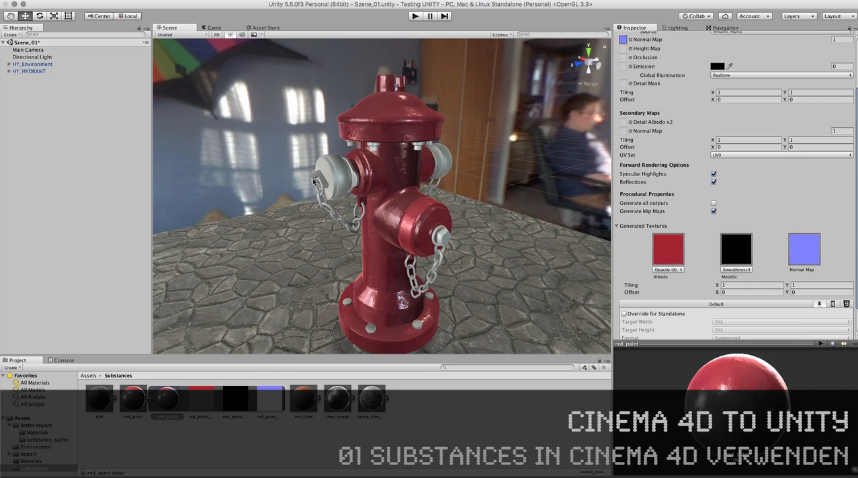
More and more freelancers, agencies and companies are therefore beginning to exploring the area of “real-time rendering” for themselves. The hype that Epic generates with their Unreal Engine, often mixed with elaborate demos from flagship customers, gives the impression that game engines such as Unreal, Unity, Twinmotion etc are the perfect solution for everyone.
But beware! Here are a few things to consider:
1. The Complexity of the Engine
My experience as a trainer and consultant is that many of my clients fail in the process of learning an Engine. 90% of them will never finish their project on their own in Unreal or UNITY.
Most people I know who start with UE (but also with UNITY) see really fast, that both engines are extremely broad from the feature set and complexity.
The reason is that UE is aiming to AAA game studios and Virtual production ( and has a really bad design 😉 for my taste ) and UNITY is widely used for multi-purpose exporting, Desktop to Mobile. And they also try to hit AAA with some workflows.
So, for Game Developers or Realtime Professionals from Studios using Virtual Production this works fine. They have their experts, budget and time to invest to make things work.
2. One-way street of Engines
Very few customers are aware that game engines bring their own shader system and must therefore be generated entirely in the Engine and cannot be exported to other applications!
Importing and exporting animation data and a real round trip are difficult because game engines are designed to target a frame rate of 60fps or more, and therefore internally have simplified animation curves etc. The result in an engine compared to other 3D programs is different. Game engines compensate for this by asking clients that they should animate directly in the engine, which of course creates a comfortable interaction. But if the data later has to be used externally for final shots that have to be generated offline with photorealistic render engines, it starts to become very problematic.
Import and export, the lack of compatibility of shader systems, lighting setup, etc. lead to the fact that scenes which are built in engines are very difficult to reuse outside of the engine. So working in a game engine becomes in most cases a one-way street!
It’s important to note that I’m talking about animatics, PreViz, product visualization, animations, not products that are meant to be interactive or are meant to stay in the game engine.
Question: Which problems arise in the different types of project when using game engines?
PreViz and Animatics – These projects are not primarily about the final quality of the images, but about quickly iterating through variants and versions, and at the same time intensive animation of assets and cameras.
A powerful and ready-to-use animation system is required here, as well as simple scene and version management.
But ATTENTION: When planning the workflow, it must taken into consideration that the data of the camera positions and movements, light settings, scene structure (block-outs) must then be used in the external programs.
IDEALLY (!) it should also be possible to use the large amount of animation data directly to create the final project planned with the animatics.
Another area is the visualization of products and architectural visualization, but also the visualization of processes for marketing and sales (for example a schematic representations of how a motor or a coffee machine works). Here the image quality plays a somewhat subordinate role compared to the budget-friendly production of images and animations, as well as the flexibility in the time frame (fast!), the possibility of changes and also the number of images, for example in the catalog production of technical components. The image quality does not have to be high-end photorealistic, but should be realistic and plausible.
Here, the simple object and scene management should be right, automation should be possible, a realistically plausible rendering of the highest possible quality with little or no external post-production / compositing. Ideally, the data should also be directly usable here for later high-end renderings, as this is often requested by the customer.
In all these cases, I have to emphasize again and again that it is necessary to plan in advance which data will be needed for further work in other 3D programs. If this is not planned beforehand, it is often not possible to export the requested data from the engines and all the work has to be redone in the 3D programs.
My solution for You
In order to avoid falling into the pitfall of waking up in the one-way street of a game engine or getting defeated by the complexity of these engines, I can offer you this solution:
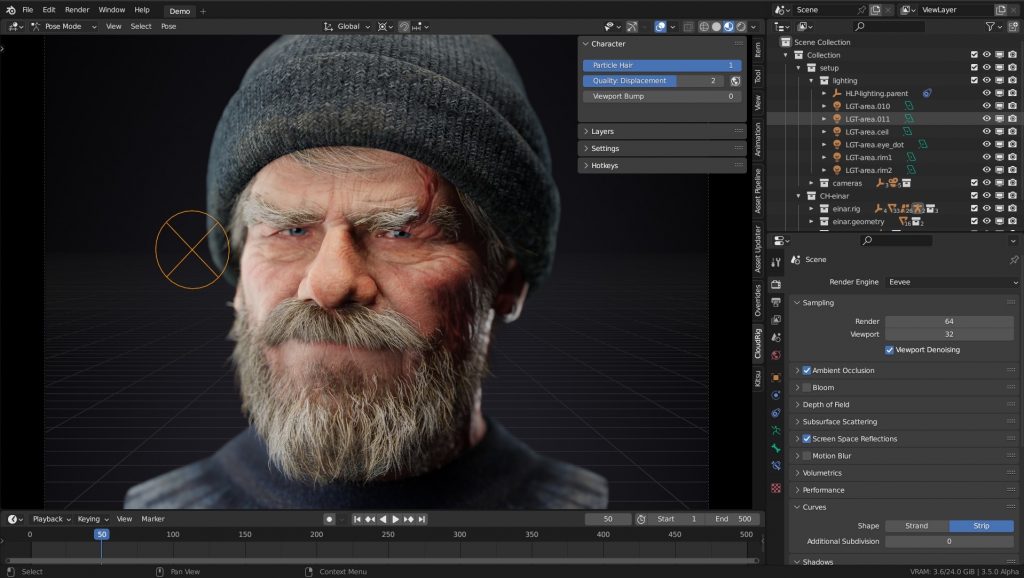
Blender’s real-time engine EEVEE
EEVEE itself is not a real-time engine in the traditional sense. It’s not about achieving a frame rate of 60 fps, but about using real-time technology. This has the advantage that EEVEE can be configured to sample higher, for example, and maybe even calculate a few seconds to minutes for better quality.
Limits on the number of polygons, etc., the creation of LODs, etc. can thus be omitted.
The high speed of EEVEE results from techniques and algorithms from the game engine world, such as reflection and irrandiance probes and many other tricks. In most cases, the artist can already see their final image in the viewport while working – possibly with lower quality settings with a lot of room for improvement.
But the biggest benefit is that EEVEE is an integral part of Blender itself. In concrete terms, this means that the complete project structure of Blender is available:
• Scene building and use of high-end add-ons like Scatter, Botaniq …
• Modeling, assignment of materials, sculpting etc directly during work
• Same lights and lighting system (World, Sky systems, volumetrics, IBL with HDRI)
• Node based shader system with simple creation of complex custom shaders
• Complete animation system with NLA and BlendShapes by Blender. Same system that is used for high-end scenes, no conversion, no relearning
• Powerful rigging system
• Geometry nodes
• Simulations Rigid & Softbody, Cloth, Hair System, Fire+Smoke, VDBs, Fluids, Simulations, Particles etc
• Direct integration of 2D elements and 2D animation using Grease Pencil
• Direct node-based compositing during the rendering process using the powerful built-in Blender compositor

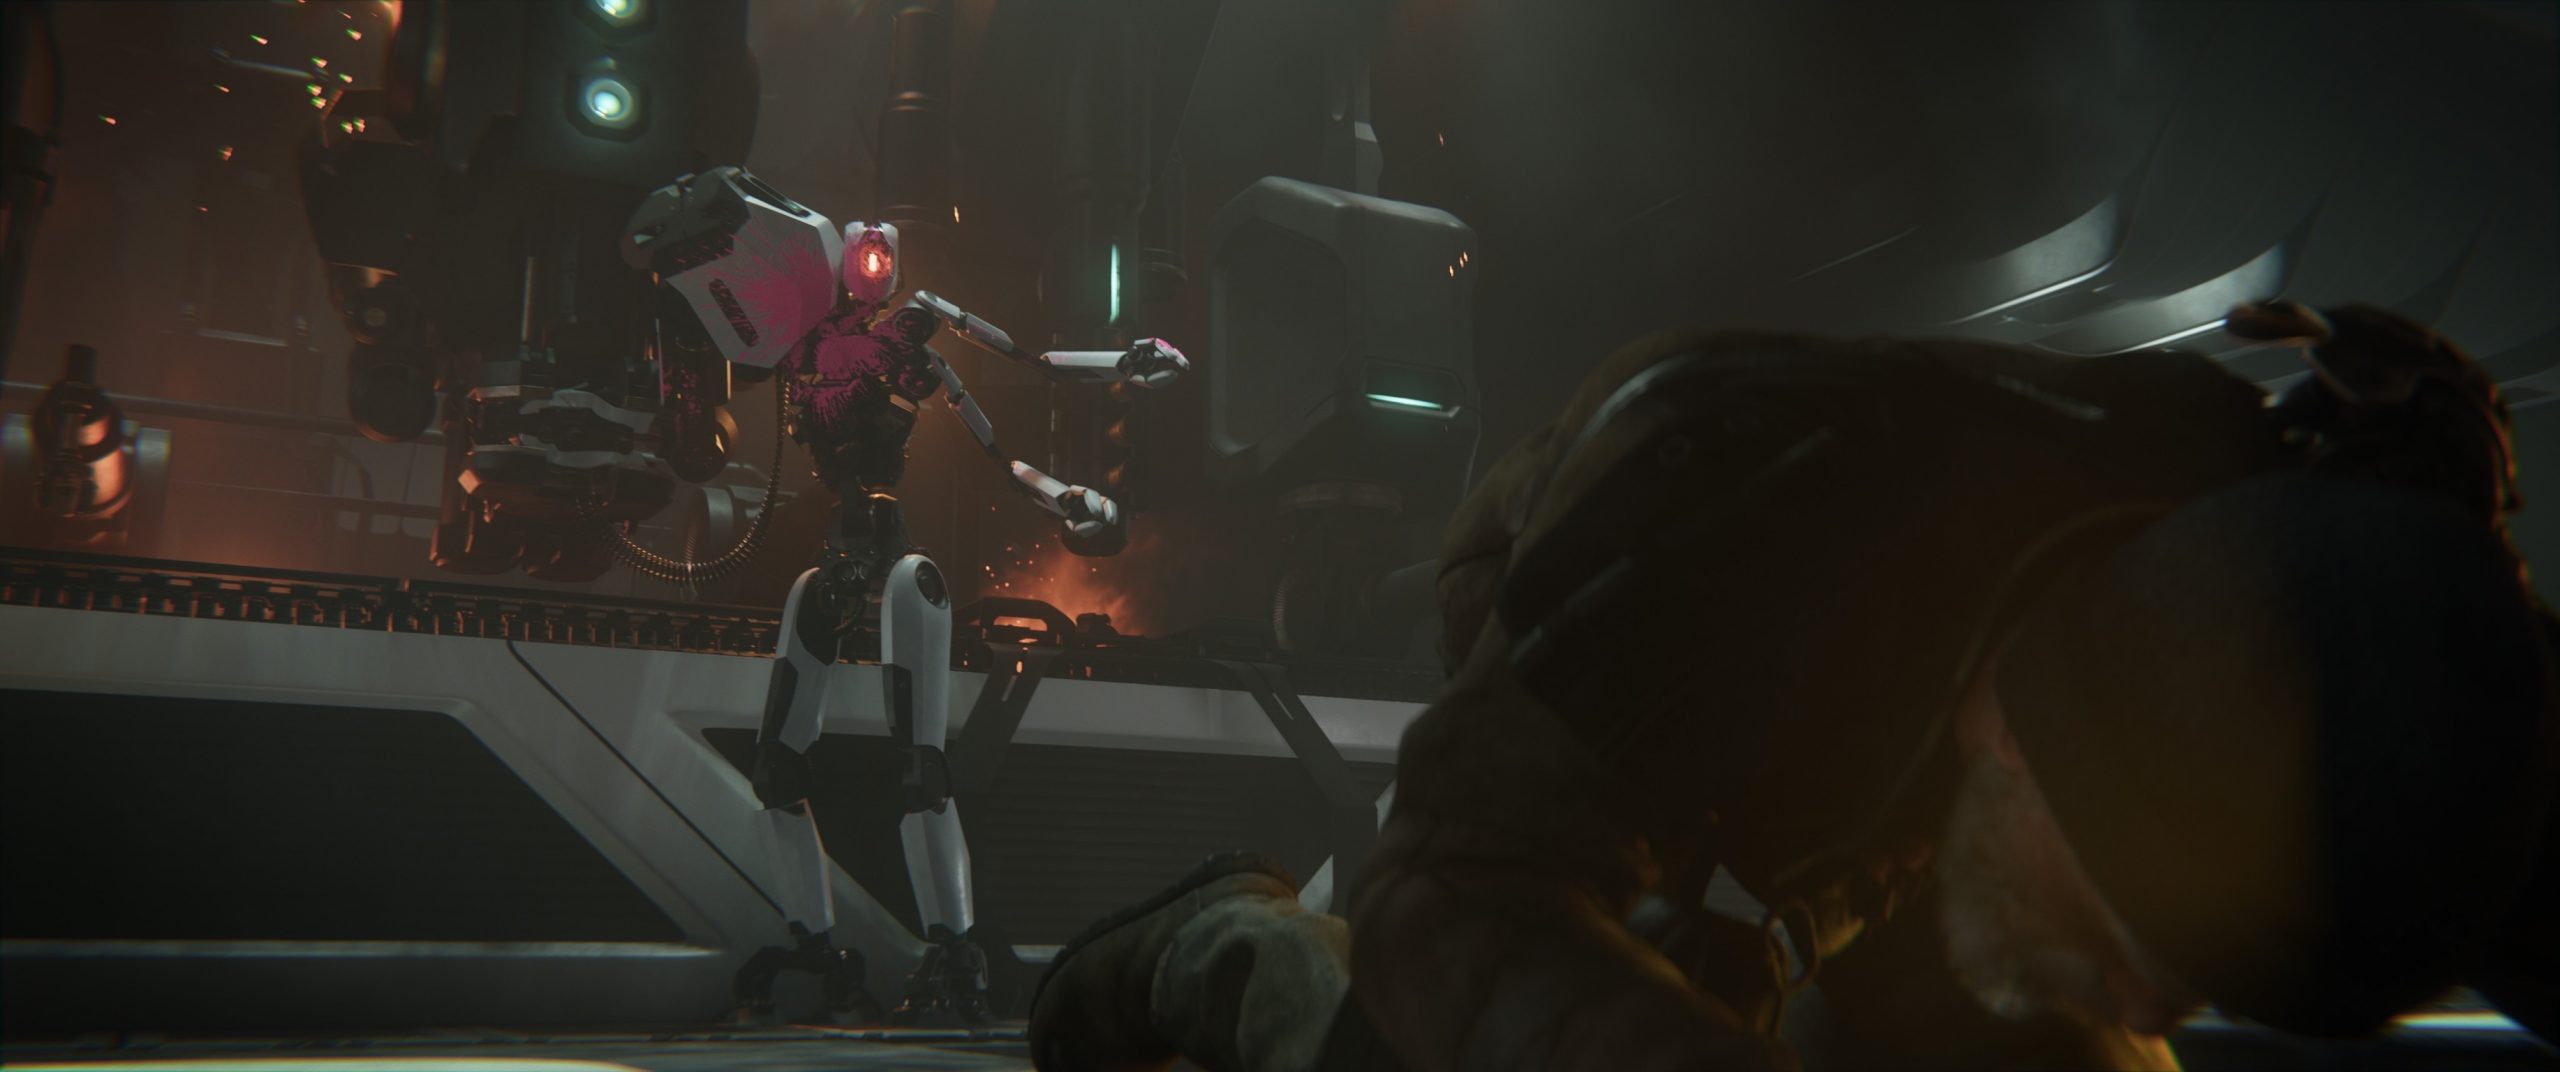
The shader system of Blender Cycles (photorealistic) and EEVEE are the same. With very few exceptions, EEVEE supports all Cycles Nodes. Thus, a scene created for realtime in EEVEE can be used and expanded directly for photorealistic renderings.
So the main reason for using Blender with EEVEE for “Realtime Rendering” in above cases is:
It makes no difference whether I create my scene for realtime or for the final photorealistic cycles rendering. I can continue working directly from real-time to offline.
This means that the time that needs to be spent learning a game engine can just as easily be invested in learning Blender. With the advantage that, in addition to “real-time rendering”, the entire Blender world is then open to the artist.
I would like to end my thoughts here with a perspective for Blender in the future versions:
The upcoming Blender version 3.5 already has the following features that extend the above:
• Mac OS Metal support also in the viewport
• Real-time compositor in the viewport, i.e. the compositing of effects and styles can already be viewed in the viewport without rendering
• A new spline-based hair system compatible with Geometry Nodes
EEVEE Next is currently under development. The feature set shows that EEVEE is becoming even more mature and powerful:
https://projects.blender.org/blender/blender/issues/93220
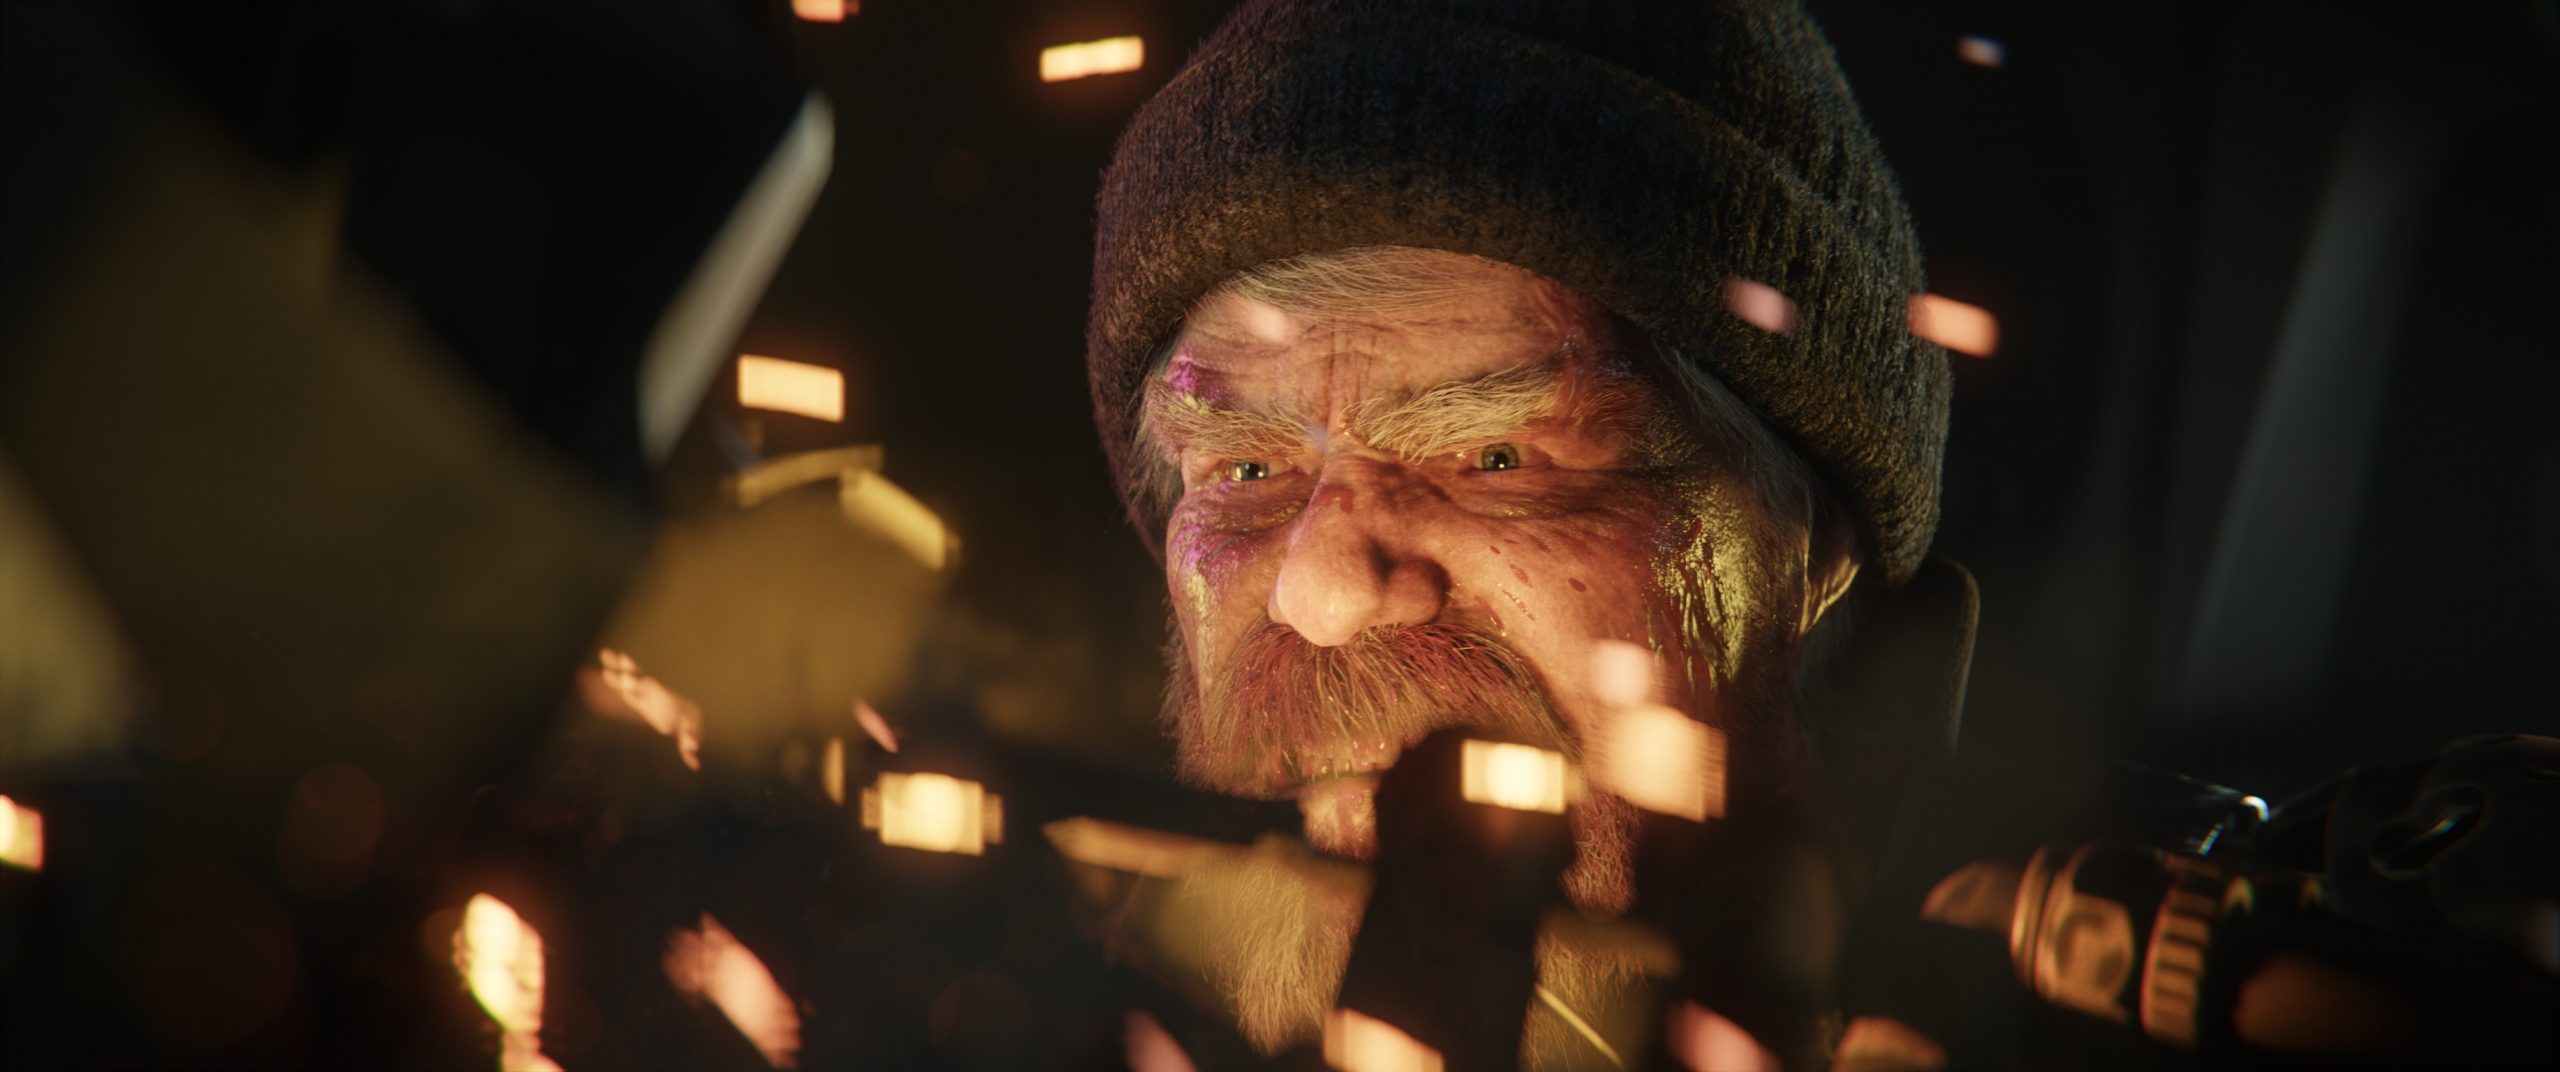
My resume is that EEVEE is the better “game engine” for many projects and if you really reach a limit in the project with EEVEE, Cycles is always available to continue the project – without starting over. If necessary, parts of this can be outsourced to offline rendering or even to render farms.
If you have any questions about my thoughts or additions, I am very happy to read from you.
Have fun,
Helge
Helge Maus is a Senior VFX Trainer | Blender & Houdini FX Generalist | Compositor with more than 20 years of experience in training. He delivers with his company pixeltrain | 3D | VFX | animation in-house training, workshops and online-coaching for the 3D & VFX industry.
His focus lies in teaching tools from the ground up in a structured and practice-proven way with the whole workflow in mind. He is a strong believer in understanding the fundamentals and building on them to make artists life more fun and efficient.
Find more information on
YouTube: https://www.youtube.com/pixeltrain3DV…
Blog: http://www.helgemaus.com
Mastodon: https://mastodon.art/web/@pixeltrain3d
Instagram: https://www.instagram.com/pixeltrain3d/
LinkedIn: https://www.linkedin.com/in/pixeltrain/
Patreon: https://www.patreon.com/pixeltrain3d
Artstation: https://www.artstation.com/pixeltrain
TIP >> Helge’s new publication – “Blender Fundamentals >> Fast Forward” – is out now
Helge’s new publication – a step-by-step Introduction into Blender – is out now!
In 114 lessons with a duration of 20+ hours, Helge takes you through the complete fundamentals of Blender and the basic workflows you need to know to get started with this amazing free software. This training is designed to get you up and running quickly, enabling you with the skills needed to work effectively in this incredibly powerful 3d package.
Additionally, it lays the foundation of essential concepts and paradigms to understand more advanced topics for other areas and workflows of Blender 3d down the road.
Links to the Tutorial:
👉 YouTube Trailer
https://youtu.be/4tB7jNkXuM0
👉 Blender Market
https://blendermarket.com/products/pixeltrain-blender-fundamentals-fast-forward
👉 VIMEO Video-on-Demand
https://vimeo.com/ondemand/blenderfundamentals
👉 GUMROAD
https://pixeltrain3d.gumroad.com/l/BlenderFundamentals