
[Tutorial] Fusion for Production – VFX Compositing with Fusion – 02a Fusion Studio vs DaVinci Resolve Workflow
In this tutorial series, we will talk about Blackmagic Fusion Studio and Blackmagic DaVinci Resolve (Fusion page) as a professional VFX Compositing package. We will dive into basic workflows and techniques to make your daily compositing work more effective and fun.
We start this tutorial by discussing the differences between using Fusion inside of the free version of DaVinci Resolve to the paid version of Fusion Studio and DaVinci Resolve Studio. I give you a list of features, what you get in the paid versions and why they are so useful in production. Also we talk about the differences in working in Fusion Studio vs the Fusion Page in DaVinci Resolve and when which of these workflows are more useful.
After that we will dive into Fusion Studio to learn about basic Fusion concepts, beginning with the User Interface, Node Trees, Tools and a first composite from Loader to the Saver for the final output. This should help you to understand Fusion as a node-based compositor and helps you in understanding the more advanced workflows in the second part of this lesson, which will then dive into Fusion Compositing inside of the DaVinci Resolve Environment.
These topics are covered in this tutorial:
00:00 Overview of the series
00:28 Topics list for lesson 02, part 01 & part 02
03:45 DaVinci Resolve / Fusion Studio free vs. Paid
08:34 Fusion Studio UI Overview
10:36 Compositing Settings / Global Settings
11:36 Frame Format, Frame Rate fps and Color Depth
12:53 Adding Nodes & Tools
14:05 Loading footage
14:22 Preview options in the Loader tool
15:21 Working with the Fusion Viewer
16:23 Adjusting the compositing length
17:09 Preview area in the timeline
17:35 Caching the timeline
18:20 Loading additional logos
19:07 Adding a text tool
19:24 Adding a sequential node
20:04 Arrange tools in the node graph
20:23 Merge Node and Transformations
20:35 Auto Proxy option in the Viewer
21:00 Faster ways of merging Nodes
21:53 Outputting a compositing with a Saver
22:47 Output Settings
23:08 Color Depth Settings for Source Nodes
24:16 Loader Setting for the import
25:06 Starting a Render Job
25:49 Importing an EXR sequence
27:20 Viewer options for transparencies
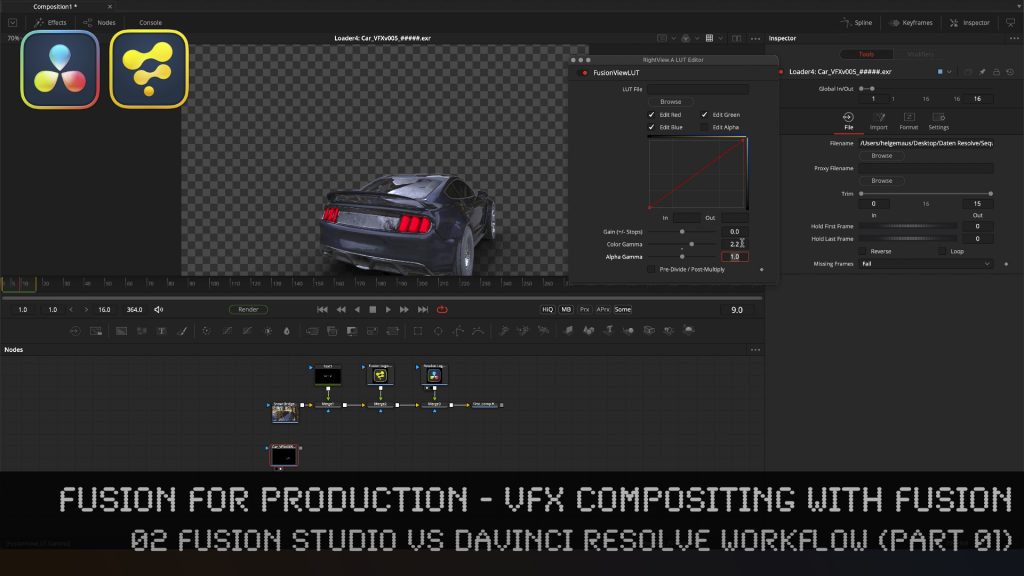
28:22 Setting a Viewer Gamma 2.2
29:09 Changing the Gamma in the Fusion View LUT
29:54 Using the Stefan Ihringer Viewer LUTS from Reactor
30:31 Setting the Preview Range
30:39 Importance of right mouse button on ui elements
31:15 Working with Audio in Fusion Studio
32:14 Overview over the next part of Lesson 02b
As a Senior 3D & VFX Trainer, Helge Maus teaches 3D- & VFX Applications for 20 years. His focus lies on VFX, but he also works with many studios and agencies from different visualization areas. He focuses on Houdini FX, Blender, and NUKE for his daily work and training.
If you have questions or topics, which should be added, please let me know.
If you want to support me for publishing more free tutorials you could join my Patreons:
Become a Patron!or give me a fast Coffee time tip:
PayPal: https://paypal.me/pixeltrain
Find more information on www.pixeltrain.net
YouTube: https://www.youtube.com/pixeltrain3DVFXTrainings
Twitter: https://twitter.com/pixeltrain
Blog: http://www.helgemaus.com
Mastodon: https://mastodon.art/web/@pixeltrain3d
Instagram: https://www.instagram.com/pixeltrain3d/
LinkedIn: https://www.linkedin.com/in/pixeltrain/
Artstation: https://www.artstation.com/pixeltrain