Today I have finished the first module of our „Nuke Practice Hour“ with the last tutorial about Linear Color, 32Bit Floats and EXRs in Foundry Nuke 12.2. The title of this Module is “Let’s start in NUKE 12.2“ and I have covered the most important concepts you have to learn when starting with node-based Compositing in NUKE.
Thanks a lot for all the positive feedback.
The next module will follow soon 🙂
01 Introduction to the NUKE 12.2 Interface
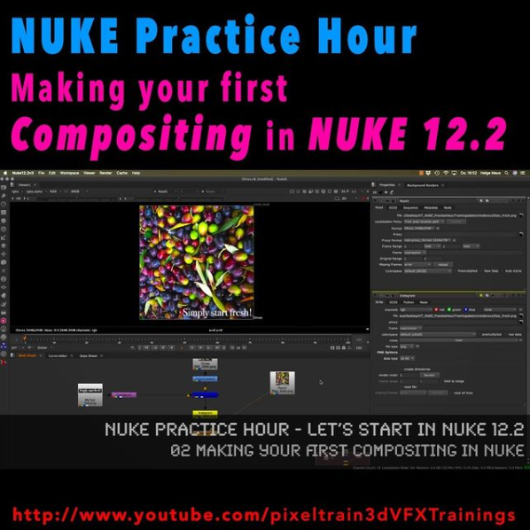
02 Making your first compositing in NUKE
03 Layers, Channels & Shuffle Nodes in NUKE
04 Understanding Premults & Alphas in NUKE
05 Linear Color, 32Bit Float & EXRs in NUKE
Here is my YouTube for all my tutorials about Houdini, Blender, Nuke & more:
https://www.youtube.com/pixeltrain3DVFXTrainings
BTW, if you want to support my work with these free tutorials, please subscribe to my YouTube channel, give me a ThumbsUp for the content you like. Also, I have a Patreon page, starting with $1 per month. That’s a nice way to say “Thank You”: https://www.patreon.com/pixeltrain3d
If you like Helge’s Tutorials, give him some support to go on!
If you want to support Helge Maus for publishing more free tutorials, you can join his Patreons:
https://www.patreon.com/pixeltrain3d
Or if you want to buy me a coffee or pizza, here’s my Tip Jar:
https://www.paypal.com/donate/?hosted_button_id=72PHXB852BW5A
Thanks for your support!
Find more information on www.pixeltrain.de
YouTube: https://www.youtube.com/pixeltrain3DVFXTrainings
VIMEO: vimeo.com/pixeltrain
LinkedIn: linkedin.com/in/pixeltrain
Artstation: https://www.artstation.com/pixeltrain
Instagram: https://www.instagram.com/pixeltrain3d/
Facebook: https://www.facebook.com/helge.maus
Twitter: https://twitter.com/pixeltrain