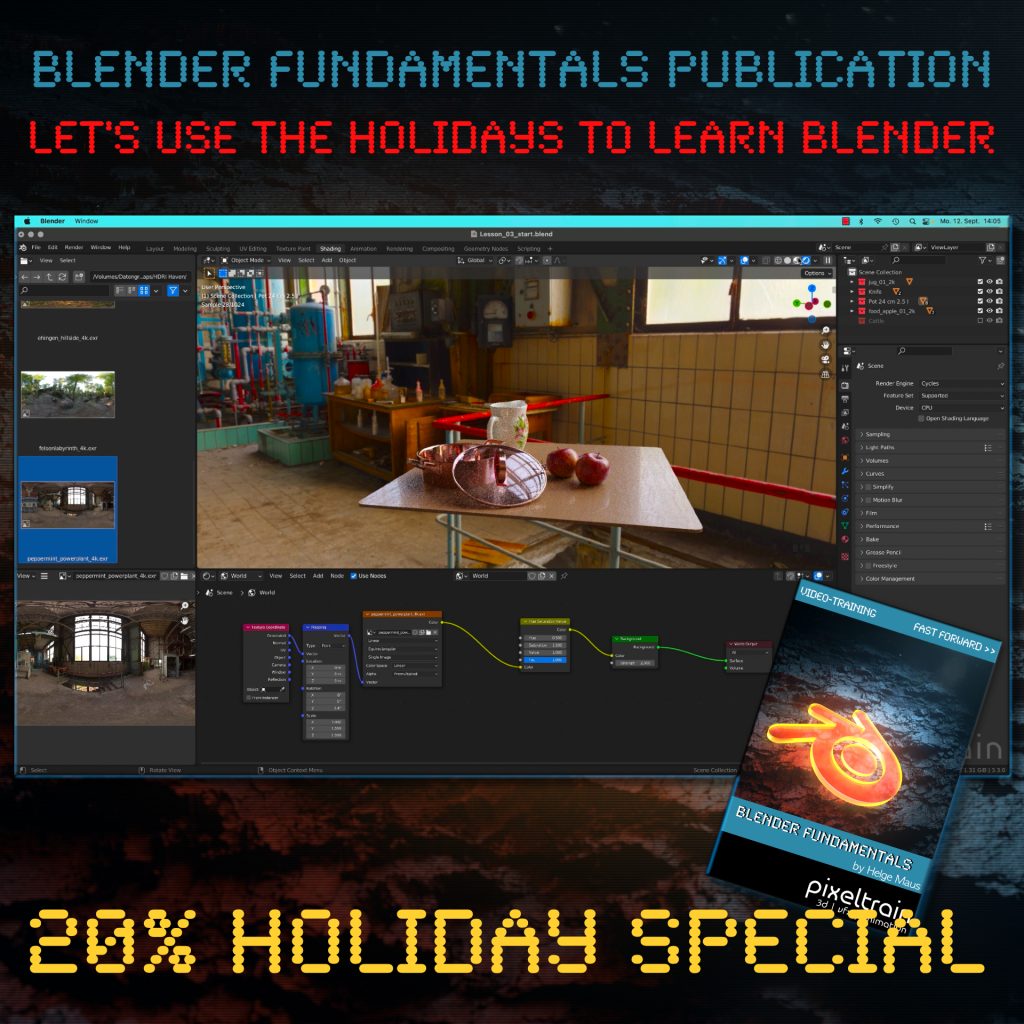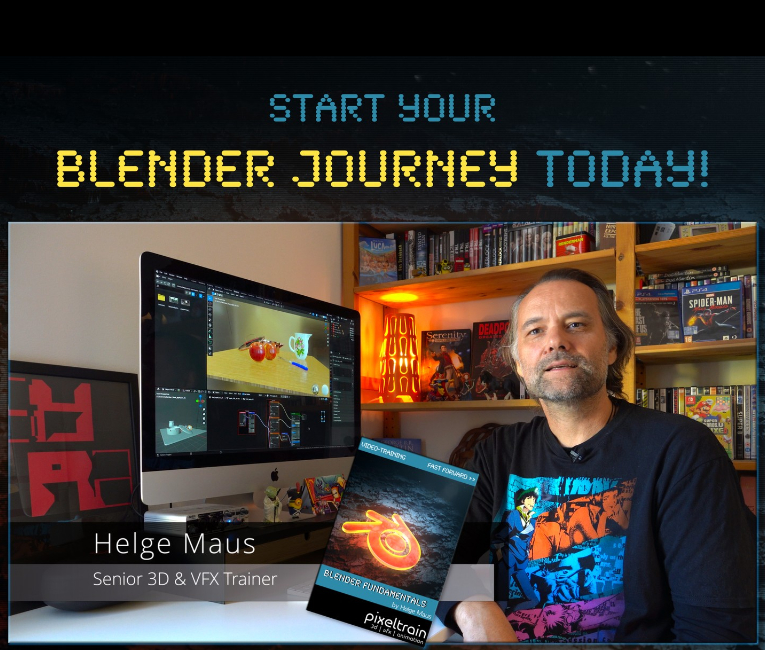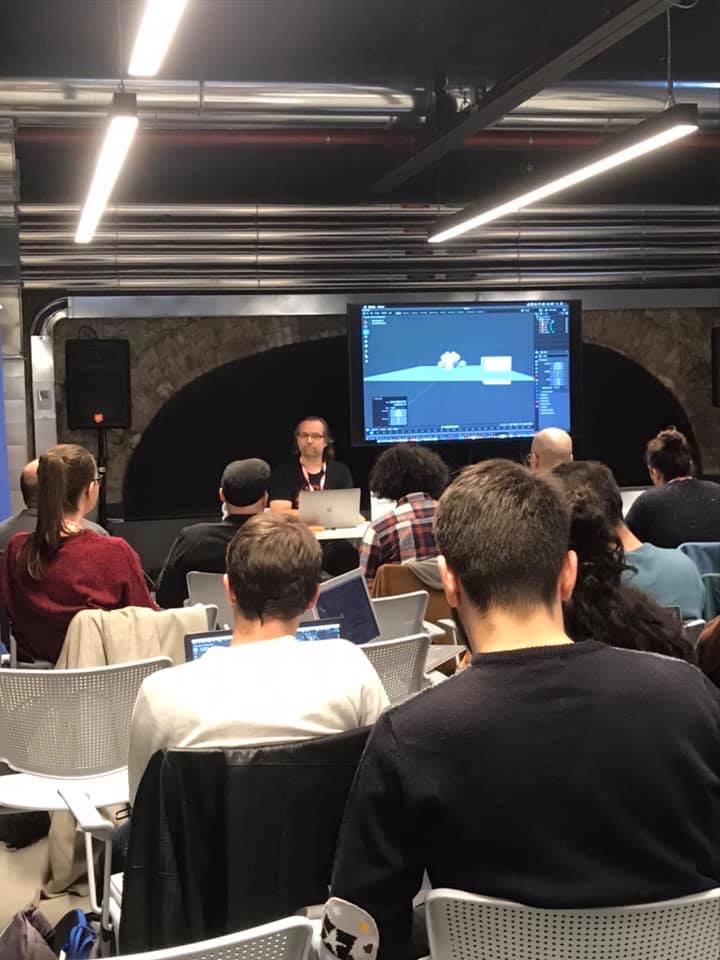
This tutorial is a demo lesson from my Publication „pixeltrain Blender Fundamentals >> Fast Forward“.
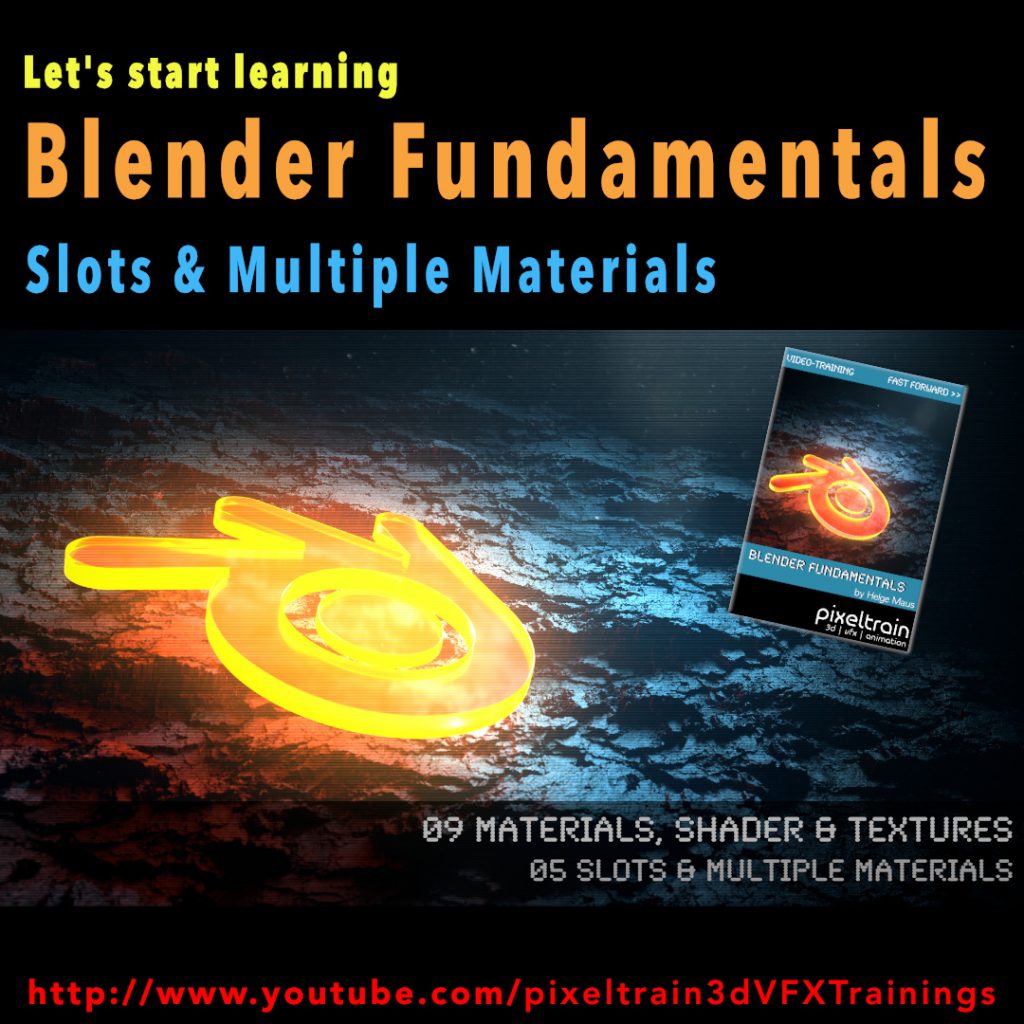
In this tutorial, you will learn how to assign Materials through the slot system of Blender to mesh parts. You will understand what a. slot is, how to make effective selections and assignment and how to assign multiple Materials to one mesh.
Here are the links for my Blender Fundamentals publication. In over 120 lessons with a duration of 20+ hours, I will take you through the complete fundamentals of Blender and the basic workflows you need to know to get started with this amazing free software.
 YouTube Trailer
Blender Market
https://blendermarket.com/products/pixeltrain-blender-fundamentals-fast-forward
VIMEO Video-on-Demand
https://vimeo.com/ondemand/blenderfundamentals
GUMROAD
https://pixeltrain3d.gumroad.com/l/BlenderFundamentals
00:00 Overview of the series and the lesson
01:06 Slots & Multiple Materials
01:26 Working with the local Mode
02:00 Basic Material assignment
02:15 Adding an additional Material slot
02:30 Understanding Slots in the Properties & Shader Editor
03:28 Assigning Faces to a slot
04:43 Selecting faces from an assignment
06:07 Selection faces more effectively
07:06 Re-assign a Material
07:34 Going out of Local mode
08:00 Assigning Slots without Materials
08:33 Changing the Material of a slot
If you have questions or topics, which should be added, please let me know.
If you want to support me for publishing more free tutorials you could
join my Patreons: 👉 https://www.patreon.com/pixeltrain3d
or give me a fast Coffee time Tip: 👉 PayPal: https://paypal.me/pixeltrain