Category: Free Video Tutorials
Freie Video-Tutorials und Auszüge aus meinen Publikationen.
Freie Video-Tutorials und Auszüge aus meinen Publikationen.
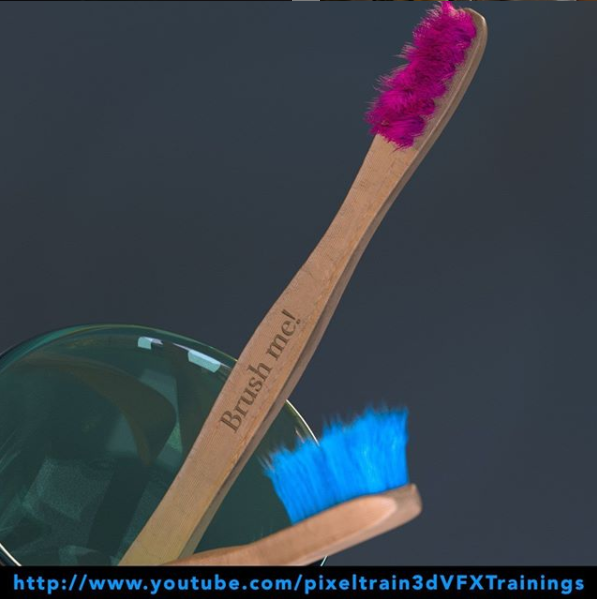
Here we go – the next 4 lessons of our “Houdini FX Practice Hour” (Beginner’s series) are online. Hairy stuff, this time!
The toothbrushes get now their bristles with the help of the Houdini FX Grooming system. Thanks for all your support!
In this tutorial, you will learn how the Houdini FX Grooming system works and which nodes are involved to build up an easy system.
We will take a look into generating Guides and how to generate Hair from them.
Also you will learn how to use Attribute Paint to drive the placement and length of your Hair.
These topics are covered:
This tutorial series „Houdini Practice Hour“ is meant for newbies in Houdini FX, who want to learn the basic tasks of modeling, uvs, shading, lighting and rendering on a project base in Houdini FX.
I will explain you step by step the workflows and tools, so you can follow along and then experiment to deepen your knowledge.
Learning means „getting your hands dirty“. This series doesn’t give you the most effective, elegant or the “only right way”, it’s concepted to give you a solid learning experience.
Link to the YouTube-Playlist “Houdini FX Practice Hour”: https://www.youtube.com/playlist?list=PLp90cx0wSyKZ2Nxnyp4W-EeaEQBp53k-f
If you have questions or topics, which should be added, please let us know.
If you want to support Helge Maus for publishing more free tutorials you could join his Patreons: https://www.patreon.com/pixeltrain3d
Or you can download the Project files on Gumroad: https://gumroad.com/pixeltrain3d
Find more information on pixeltrain.de YouTube: https://www.youtube.com/pixeltrain3DVFXTrainings
VIMEO: https://www.vimeo.com/pixeltrain
LinkedIn: https://www.linkedin.com/in/pixeltrain
Artstation: https://www.artstation.com/pixeltrain
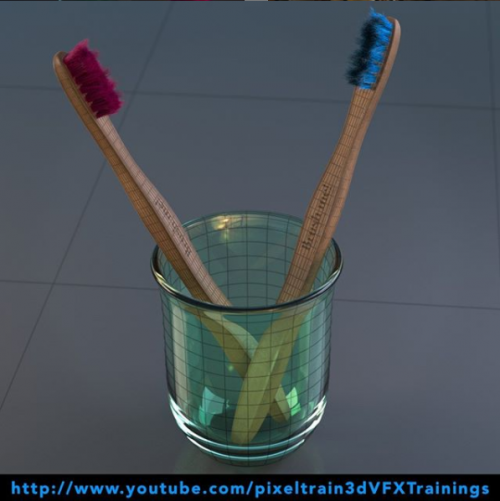
Welcome to our new “Houdini FX Practice Hour” project.
This time we will model, texture and render a Toothbrush with glass.
Also, we will dive into the Houdini FX groom system for generating the bristles with hair.
Hope, you like it – if yes, please subscribe 🙂
In this tutorial, we will create a Houdini FX project and talk about the importance of the project structure and the Houdini variables $JOB and $HOME and to make sure, that your paths will not break when transferring the project to another machine or a render farm.
These topics are covered:
This tutorial series „Houdini Practice Hour“ is meant for newbies in Houdini FX, who want to learn the basic tasks of modeling, uvs, shading, lighting and rendering on a project base in Houdini FX.
I will explain you step by step the workflows and tools, so you can follow along and then experiment for deepen your knowledge. Learning means „getting your hands dirty“.
This series doesn’t give you the most effective, elegant or the “only right way”, it’s concepted to give you a solid learning experience.
If your are searching for a complete introduction into the fundamentals of Houdini FX, you can take a look here: https://vimeo.com/ondemand/houdinifxfundamentals
If you have questions or topics, which should be added, please let us know.
If you want to support Helge Maus for publishing more free tutorials you could join his Patreons: https://www.patreon.com/pixeltrain3d
Or you can download the Project files on Gumroad: https://gumroad.com/pixeltrain3d
Find more information on pixeltrain.de YouTube: https://www.youtube.com/pixeltrain3DVFXTrainings
VIMEO: https://www.vimeo.com/pixeltrain
LinkedIn: https://www.linkedin.com/in/pixeltrain
Artstation: https://www.artstation.com/pixeltrain
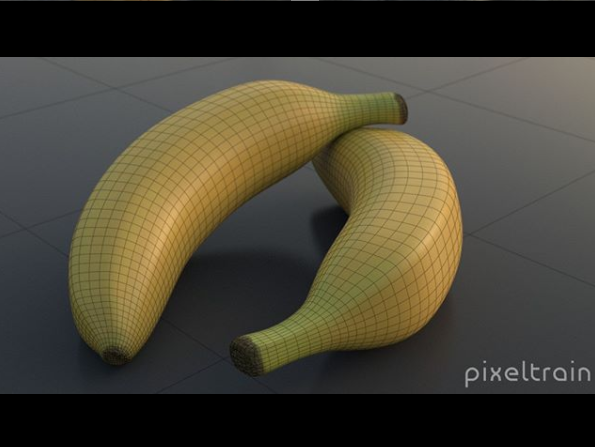
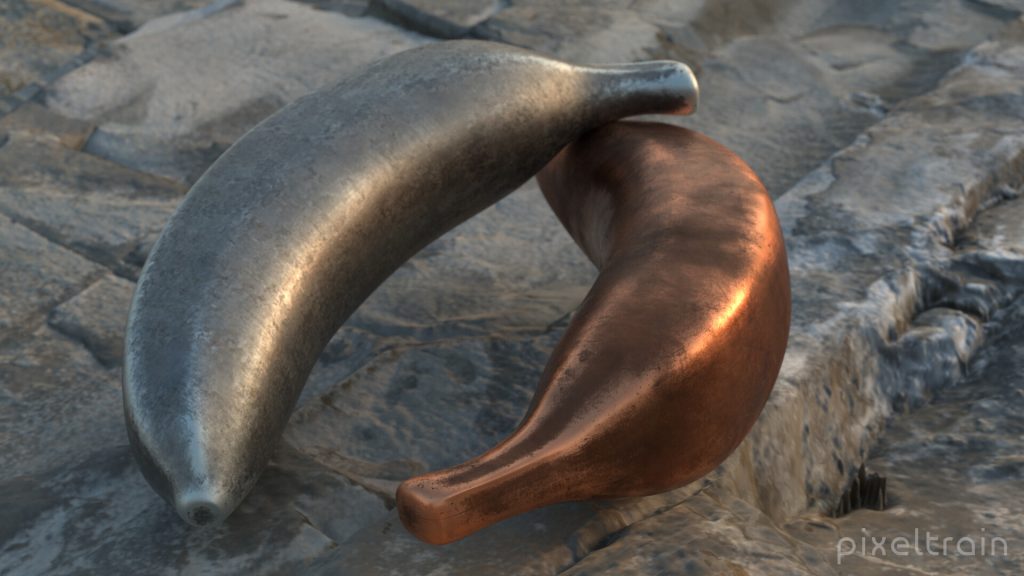
The final lessons for the Houdini FX Modeling & Texturing Workshop “Banana” are online now.
This time we are working with UVs, Texturpainting in 3D Coat and then render the final product. Hope, you liked the first project in my new “Houdini Practice Hour” series.
In this tutorial, we will unwrap the UVs of the banana, use uv layout and then export the object as FBX and obj.
These topics are covered:
This tutorial series „Houdini Practice Hour“ is meant for newbies in Houdini FX, who want to learn the basic tasks of modeling, uvs, shading, lighting and rendering on a project base in Houdini FX. I will explain you step by step the workflows and tools, so you can follow along and then experiment for deepen your knowledge. Learning means „getting your hands dirty“. This series doesn’t give you the most effective, elegant or the “only right way”, it’s concepted to give you a solid learning experience.
If your are searching for a complete introduction into the fundamentals of Houdini FX, you can take a look here: https://vimeo.com/ondemand/houdinifxfundamentals
Playlist des gesamten Banana Projects:
https://www.youtube.com/playlist?list=PLp90cx0wSyKbu7V7P_S53W1XzSfYkQwNQ

Today I’ve released the first part of my new “Houdini FX Practice Hour” series on YouTube.
5 Lessons for Beginners, showing Direct Modeling in Houdini FX.
Hope, you like it: https://youtube.com/pixeltrain3DVFXTrainings
Next part will come next week, then we will dive into UVs, Texture Painting, Shading and Rendering.
In this tutorial, we will set up our Houdini FX scene for modeling.
These topics are covered:
This tutorial series „Houdini Practice Hour“ is meant for newbies in Houdini FX, who want to learn the basic tasks of modeling, uvs, shading, lighting and rendering on a project base in Houdini FX.
I will explain you step by step the workflows and tools, so you can follow along and then experiment for deepen your knowledge. Learning means „getting your hands dirty“. This series doesn’t give you the most effective, elegant or the “only right way”, it’s concepted to give you a solid learning experience.
If your are searching for a complete introduction into the fundamentals of Houdini FX, you can take a look here: https://vimeo.com/ondemand/houdinifxfundamentals
If you have questions or topics, which should be added, please let us know.
If you want to support Helge Maus for publishing more free tutorials you could join his Patreons: https://www.patreon.com/pixeltrain3d
Or you can download the Project files on Gumroad: https://gumroad.com/pixeltrain3d
Find more information on pixeltrain.de YouTube: https://www.youtube.com/pixeltrain3DVFXTrainings
VIMEO: vimeo.com/pixeltrain
LinkedIn: linkedin.com/in/pixeltrain
Artstation: https://www.artstation.com/pixeltrain
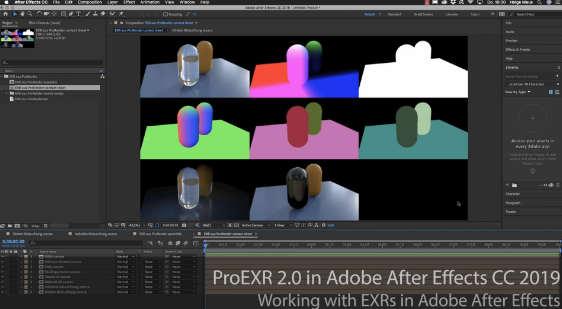
In Helges neuesten, kostenfreien Video-Tutorials geht es um das kostenfreie PluginProEXR 2.0 (https://www.fnordware.com/ProEXR/) für Adobe After Effects CC.
Dieses Plugin erlaubt es, Adobe After Effects Arists endlich komfortabel mit multi-channel EXRs zu arbeiten und auch noch Cryptomattes direkt in AEX nutzen zu können. Damit rückt After Effects ein Stück näher an die VFX-Pipelines der großen Studios heran.
Im ersten Tutorial stellt Euch Helge das kostenfreie Plugin ProEXR 2.0 (https://www.fnordware.com/ProEXR/) vor, mit dem Ihr ganz einfach Kanäle aus den EXRs extrahieren könnt. Außerdem könnt ihr automatisch ein gesamtes Composite von allen Ebenen einer EXR-Datei ausgeben lassen. Zudem auch ein Layer-Contact Sheet. Zu Beginn des Tutorials gibt’s eine kurze Einführung in das klassische Arbeiten mit Multi-Channel EXRs in After Effects CC 2019.
Im zweiten aufbauenden Tutorial erklärt Euch Helge dann, was Cryptomattes sind, wo ihr passende Informationen über Renderengines und die Verwendung findet und natürlich wie diese nun in After Effects CC 2019 eingesetzt werden können. Dabei wird gezeigt, wie Ihr aus einem 3D-Rendering on-the-fly Masken generieren könnt. Hierfür benötigt Ihr das im ersten Tutorial vorgestellte freie ProEXR 2.0 Plugin.
Übrigens, wer mehr über das Rendern von Cryptomattes aus Houdini oder aus Cinema 4D erfahren will, findet hier zwei Links zu bereits veröffentlichten Tutorials:
Introduction to Cryptomatte for Houdini FX (engl)
Introduction Cryptomatte für Cinema 4D & Arnold 5 (dt)
Falls Ihr Euch tiefer in Adobe After Effects einarbeiten möchtet und Euch das Kreieren von MotionGraphics fasziniert, denkt daran, dass Ihr das von Helge in einem seiner Trainings lernen könnt, egal ob online, on-site oder bei uns im pixeltrain studio mit dem superduper Helge-bleibt-im-studio-Rabatt für Euch 😉 >> www.pixeltrain.de
// In Kooperation mit MAXON Cinema 4D produzierte
Helge mit pixeltrain die folgenden
// Themen der Tutorials:
Multi Instances, Motion Tracker, Volume Modeling, ProRender, Fields und das Node based Material System
Wir von pixeltrain hatten Spaß beim Entdecken der neuen Features.
“Ein richtig starkes Release”, wie Helge überzeugt ist! Und so freut es uns umso mehr, dass wir Euch die fertigen Video-Tutorials präsentieren können.
Wir hoffen, Ihr findet nützliche Infos in den Filmen. Lasst Euch inspirieren von den grandiosen Arbeiten der tollen, von Maxon gefeatureten Artists und habt einfach Spaß damit!
Viel Erfolg bei Euren Meisterstücken in Cinema 4D R20!
Wenn Ihr Fragen direkt an Helge habt, bitte schreit einfach 😉 oder schreibt eine E-Mail an Helge info(at)pixeltrain.de.
Wir freuen uns von Euch zu hören und Euch bei Fragen zu helfen!
Bis bald … und vergesst nicht unsere freudigen Event-Termin in Turin!
Uns zieht es nach Italien in diesem Herbst! Kommt mit uns und genießt die sicher genial werdende VIEW Conference in Torino >>
Es kommen soooo viele geniale Artists, gekrönt von einer Keynote von HANS ZIMMER!
Wir freuen uns und hoffen, dass wir uns dort sehen!
Neben der FMX in Stuttgart scheint uns die VIEW in Turin das 3D- & VFX-Jahr um eine neue Jahreszeit zu bereichern 🙂
Ci vediamo!
Helge und sein pixeltrain-Team
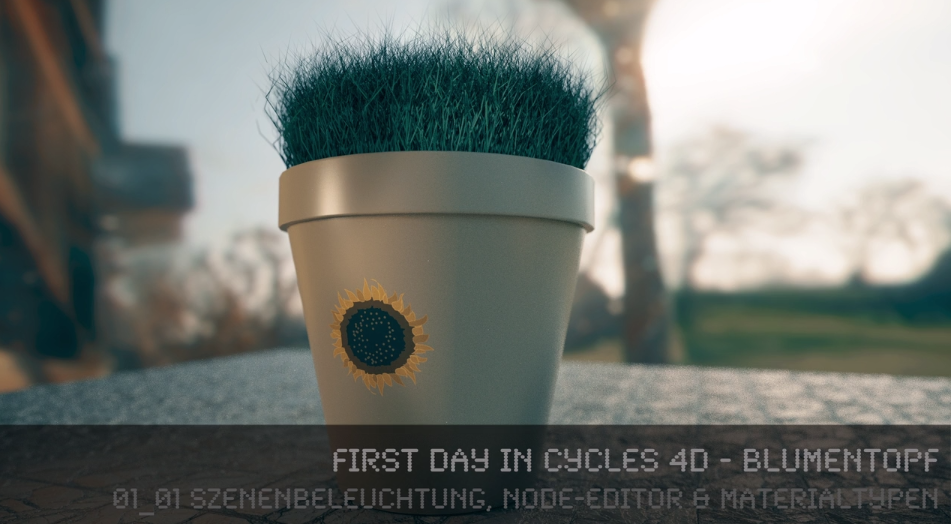
Wie versprochen schalten wir für Euch nun die gesamte Tutorial-Reihe von Helge zu Cycles 4D frei. Lernt von Helge, wie Ihr Eure ersten Projekte in Cinema 4D mit Hilfe des Cycles 4D Renderers von Insydium Ltd umsetzt!
Schreibt uns gerne (info(at)pixeltrain.de), was Ihr von Cycles 4D hält. Überzeugt er Euch in seiner Leistung? Helge ist sehr von diesem Renderer angetan. Doch schaut selbst, wie er arbeitet und was er so drauf hat:
Dieses Mal hat Helge eine Tutorial Reihe zu Cycles 4D mit Cinema 4D aufgenommen. Nach und nach werden wir hier die einzelnen Filme der Tutorial Reihe veröffentlichen.Hier nun der Start der Reihe:
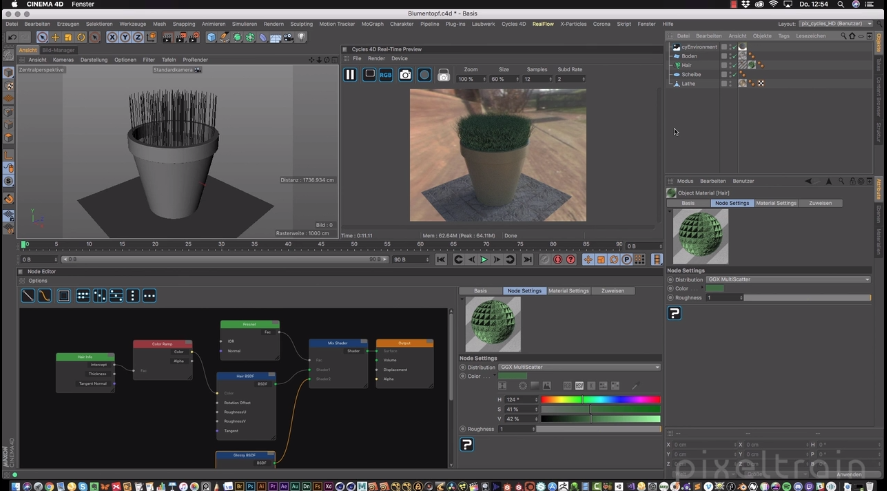
3D- & VFX-Trainer Helge Maus (pixeltrain.de) zeigt, wie man seine ersten Projekte in CINEMA 4D mit Hilfe des Cycles 4D Renderer von INSYDIUM LTD umsetzt. Dabei wird anhand von einfachen Beispielen Step by Step die wichtigsten Bereiche in der Arbeit mit diesem leistungsstarken unbiased GPU / CPU Renderer gezeigt und besprochen. Cycles selbst wird von der Blender Foundation (blender.org) entwickelt.
Anlegen einer eigenen Cycles 4D UI
Unterschied zwischen Objekt-, Licht- und Background-Material
Grundlagen des Node-Editors
Cycles Environment für HDRI-Beleuchtung (IBL)
Node-Settings vs Material-Settings
Principled Shader, Dieletrik vs. Metall
Weitere Publikationen und Informationen zu Firmen- & Individual-Trainings finden Sie auf unserer Website: pixeltrain.de . Helge Maus ist 3D- & VFX-Trainer und MAXON Certified Lead Instructor.
Like us at Facebook: facebook.com/pixeltrain3D
Newsletter: pixeltrain.de >> newsletter
Instagram: instagram.com/pixeltrain3d/
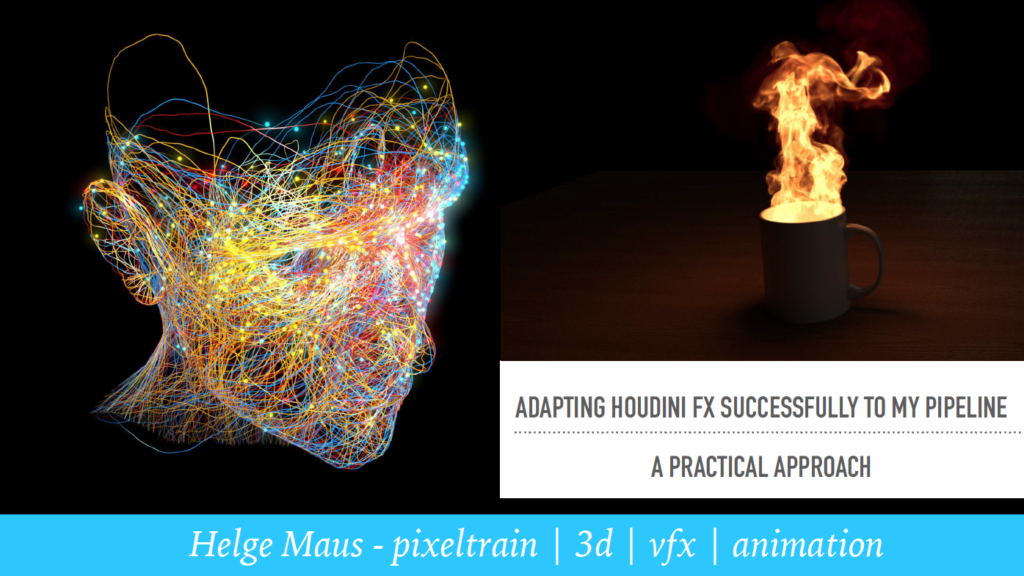
Helge ist wieder zurück von seiner Vortragsreise aus Utrecht. Dort hat er für SideFX am Houdini HIVE Utrecht eine Präsentation zum Thema “Adapting Houdini FX successfully to my pipeline”
Dieser Vortrag wurde aufgezeichnet und sobald er online ist, werden wir Euch den Link im Blog schreiben.
Wer vorweg schon reinschauen möchte, dem bieten wir hier den Zugang zur PDF zu den Inhalten des Vortrags >>
Außerdem könnt Ihr in diesen Houdini Vortrag von Helge reinschauen:
Dieser Vortrag wurde von SideFX im Oktober 2017 aufgezeichnet. Procedural in Motion war ein tolles Event in London mit super Vortragenden, wie beispielsweise Simon Holmedal | ManvsMachine und Moritz Schwind & Manuel Casasola Merkle von Entagma.
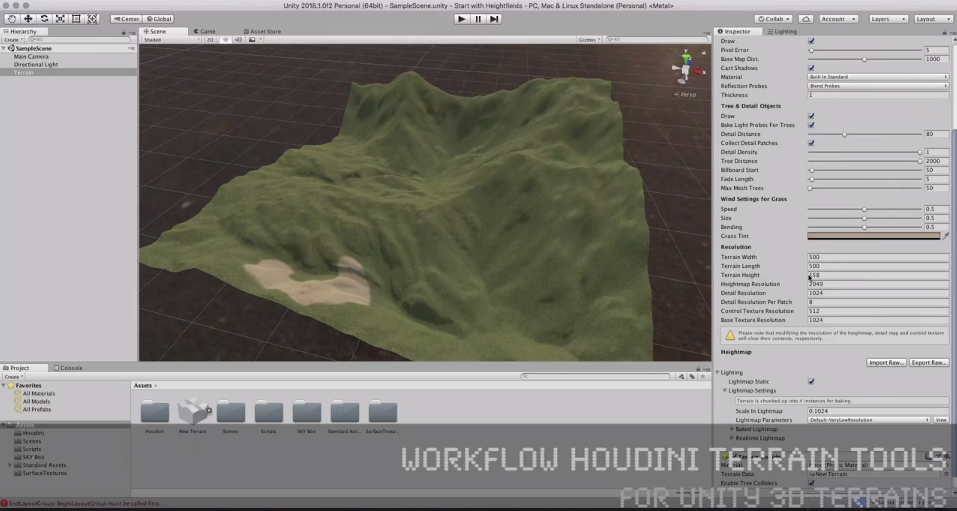
In diesem Tutorial zeigt Helge Maus den Workflow, wie man Terrain Data von sidefx Houdini nach UNITY 3D bringt.
Zuerst erklärt Helge das Konzept des terrain objects innerhalb von Unity 3D. Außerdem zeigt er die verschiedenen Möglichkeiten, wie die nativen Sculpting Tools und das Texturieren mittels Splatmaps funktionieren. Danach baut er ein einfaches Heightfield based Terrain in Houdini 16.5 auf.
Nachdem die verschiedenen Nodes im Heightfield system von Houdini erklärt wurden, ist das Shapen des natural environments richtig einfach und ganz und gar procedural! Helge gibt eine kurze Einführung in
Zum Schluss zeigt Helge, wie man Heightdata in eine Datei exportiert und welche wichtigen Settings man dazu braucht. Er konvertiert alles in ein raw file und lässt es dann in das Unity terrain object einlesen.
TIPP:
Helge Maus bietet jedes Jahr gemeinsam mit seiner Firma pixeltrain einen intensiven Kurzlehrgang zu Houdini an.
Lernt schnell und tiefgründig Houdini in nur drei Wochenenden von Helge!
Hier bekommt Ihr mehr Infos zu unserer Intensiv-Workshop-Serie
>> First Steps in Houdini FX
Like us on Facebook: facebook.com/pixeltrain3D
Newsletter: pixeltrain.de/de/newsletter
Helge Maus auf Linkedin: linkedin.com/in/pixeltrain/